Resizing .VHD files
After a long disturbing journey through the process of changing the size of a .vhd disk smaller than or equal to 4GB I finally found a solution.
You need 3 (three) programs listed below and a Windows XP cd with at least SP1:
- VHD Resizer
- Bart's Preinstalled Environment (BartPE) bootable live windows CD/DVD
- Testdisk utility.
First of all install VHD resizer and change your .vhd to the desired size.
If you have crossed one of the following boundaries - 528Mb, 1Gb, 2Gb, 4Gb you are now in trouble!!!!
When you start your new resized Virtual Machine you get the message:
A disk read error occurred
Press Ctrl+Alt+Del to restart
Now it’s time to install Bart's Preinstalled Environment and find your XP-cd. Also download the Testdisk Utility and unzip it.
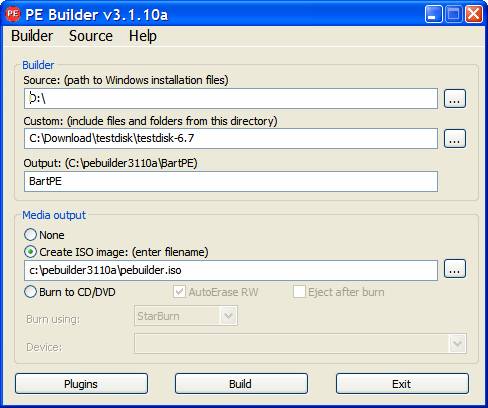
Run PE Builder (Bart's Preinstalled Environment)
Source: (path to Windows installation files)
D:\ is my CD-Drive
“Custom (include files and folders from this directory)”
is where I unzipped the Testdisk Utility
I choose to create ISO image
Press the “Build”-button
Now start your new expanded Virtual Machine you just created
You get this message:
A disk read error occurred
Press Ctrl+Alt+Del to restart
In the top of the Virtual Machine screen choose the CD:
![]()
Capture the ISO image you just created with PE Builder.
In the top of the Virtual Machine screen choose Action:
![]()
And select Ctrl+Alt+Del
Now you will boot in “Bart mode” which looks like this:
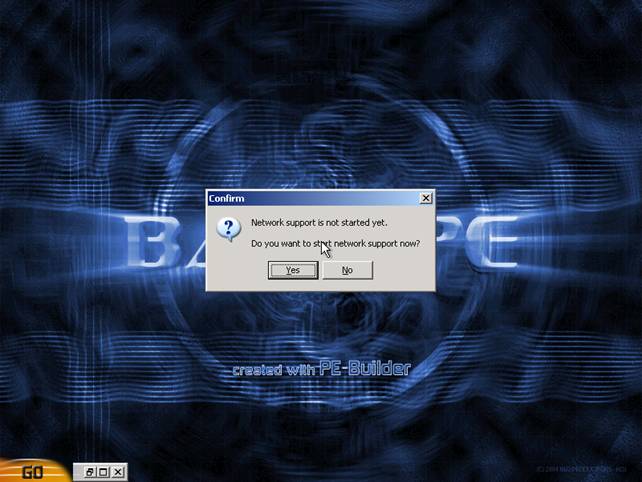
Click “No” in the box as you don’t need network support at this moment
Now select the orange “Go” in the lower left corner.
Select system – Storage – DiskPart as shown here:
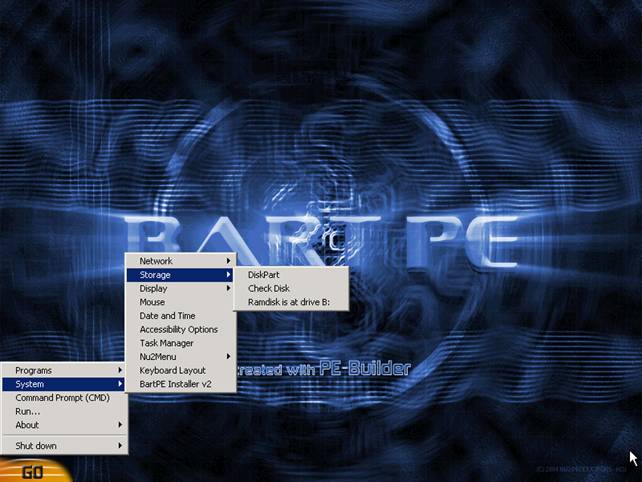
You will get this screen:
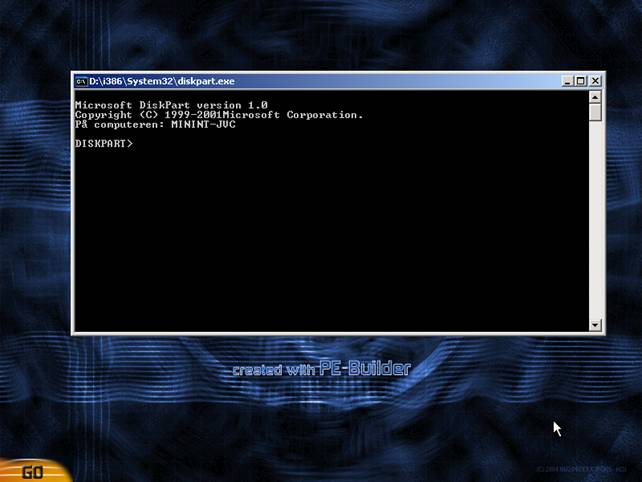
First of all we have to apply the extension to your disk so type:
list volume
to display the existing volumes on the computer.
Type
Select volume X
where X is the number of the volume that you want to extend.
Type
Extend
Now type Exit
So far so good – hang on you are almost there……
Now we have to start our Testdisk utility. Select the orange “Go” in the lower left corner again, and choose the “Run” option and type:
D:\win\testdisk_win.exe
Follow the instructions here from Step 2: http://www.xtralogic.com/testdisk_rebuild_bootsector.shtml
and you are finished.
Just remember to release the ISO image and then restart your Virtual Machine
Feel free to leave a comment here